Onboard a Team
This is the runbook for bringing a team onto DevsPortal. Work through it once per team and they'll be self-service afterward. The example onboards the checkout team at Fedshi — adapt the names to your team.
DevsPortal is built on the Control Plane Operator engine. The occ CLI and
the openchoreo.dev/v1alpha1 resources (Project, AuthzRole, AuthzRoleBinding) below
are unchanged engine internals.
Every step in this runbook has a self-service path in the portal — the Create… templates for the namespace/project and Settings → Access Control for roles and members. The occ/YAML form below each step is for scripting, review, and GitOps.
Who runs this
The first run for a brand-new team is usually done by a platform engineer (or someone with namespace-admin rights), because creating namespaces and binding roles requires elevated permissions. Once a team admin exists, they can do the day-to-day grants themselves. If you're a developer who just wants to ship, you don't need this page — go to Getting access.
Prerequisites
occinstalled and logged in against Fedshi (https://api.idp.fedshi.com) with namespace-admin or cluster-admin rights — see Getting access.- The team's identity group exists in the IdP (e.g. a
checkout-teamgroup on the Fedshi identity provider). RBAC binds to that group, so it must exist first. If it doesn't, coordinate with whoever owns identity and SSO.
Step 1 — Carve out the team's space
Decide on the boundary. Two common shapes:
- Shared namespace, dedicated projects — the team works in the existing
fedshinamespace and owns specific projects inside it. Simplest; good when teams trust each other and share cluster-wide templates. - Dedicated namespace — the team gets its own namespace (e.g.
checkout-team). Stronger isolation and a clean RBAC scope; preferred for larger orgs.
This runbook uses dedicated projects inside fedshi. (For a dedicated namespace,
create it first with the namespace tooling your operators provide, then substitute it
below.)
In the portal: open Create… in the left nav. For a dedicated namespace, pick the
Namespace template under Platform Resources; for this runbook's shared-namespace shape,
pick the Project template under Application Resources, give it a name, description, the
backstage.io/owner owner, and the deployment pipeline it binds to, then create it. (The
Create… page is shown in Orgs, projects, and
tenancy.)
Or with the occ CLI — create the team's project and bind it to the right deployment
pipeline:
# checkout-project.yaml
apiVersion: openchoreo.dev/v1alpha1
kind: Project
metadata:
  name: checkout
  namespace: fedshi
  annotations:
    openchoreo.dev/display-name: "Checkout"
    openchoreo.dev/description: "Cart, payment, and order-history services"
    backstage.io/owner: group:default/checkout-team
spec:
  deploymentPipelineRef:
    kind: DeploymentPipeline
    name: default
occ apply -f checkout-project.yaml
occ project get checkout -n fedshi
Note the backstage.io/owner annotation — that's Step 4, done up
front so the project is attributed correctly from the moment it exists.
Step 2 — Define the team's roles
Decide the access tiers. A sensible default is three roles — developer, admin, viewer.
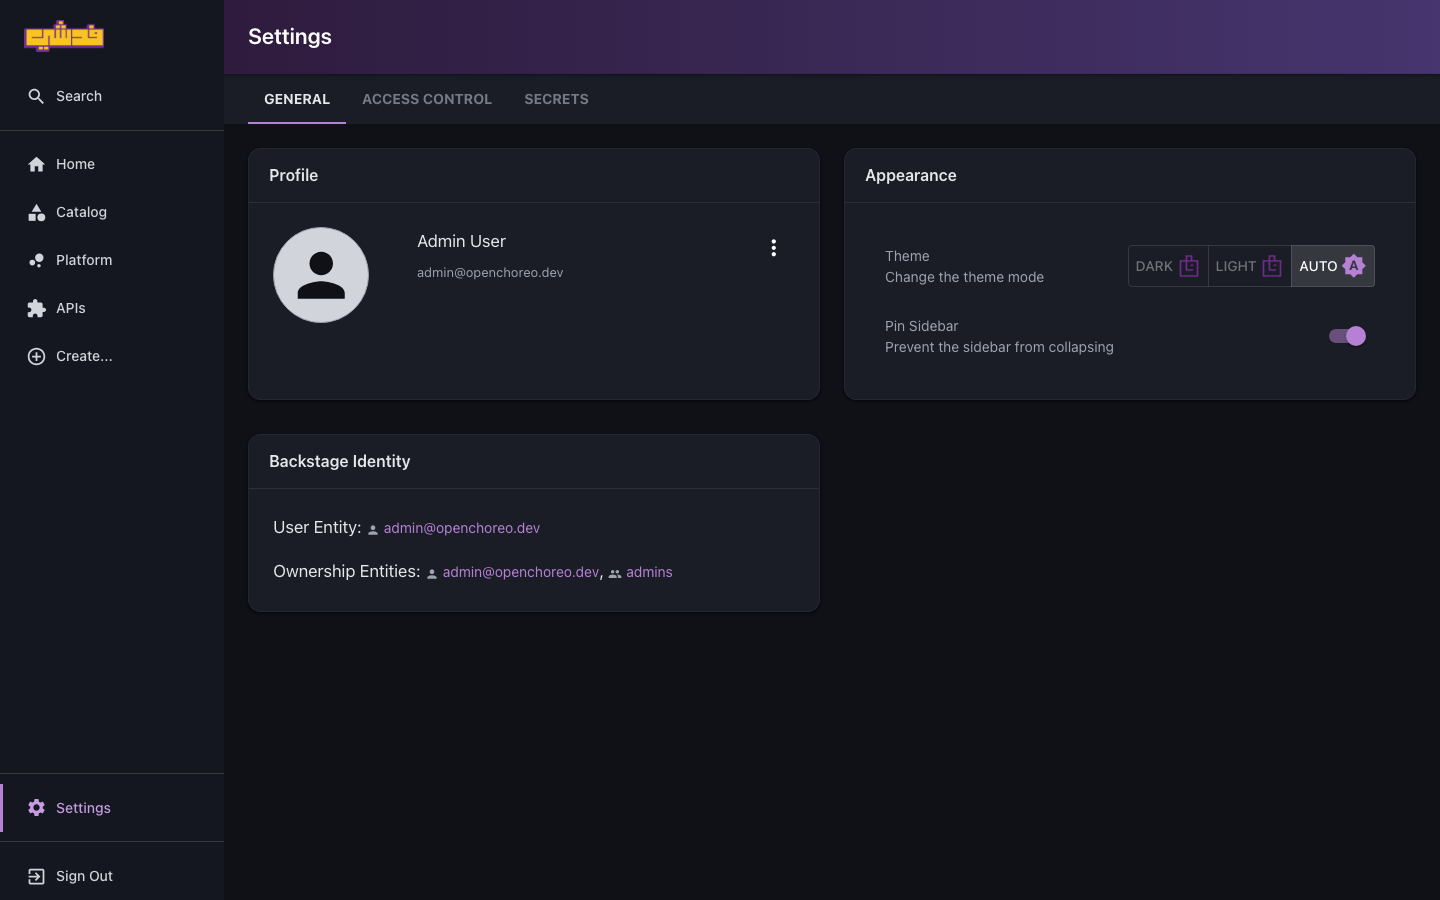
In the portal: open Settings, then the Access Control tab (alongside General
and Secrets). Under Roles, pick one of the Developer / Viewer / Admin quick-start
templates, name the role, and select its actions with the grouped action picker. This produces
the same AuthzRole resources as the YAML below.
Or with the occ CLI — here's a namespace-scoped developer role for the team:
# developer-role.yaml
apiVersion: openchoreo.dev/v1alpha1
kind: AuthzRole
metadata:
  name: developer
  namespace: fedshi
spec:
  actions:
    - project:view
    - component:*
    - workload:*
    - componentrelease:view
    - componentrelease:create
    - releasebinding:*
    - workflowrun:*
    - logs:view
    - metrics:view
    - traces:view
    - component:exec
occ apply -f developer-role.yaml
The complete model — what each tier should contain, scopes, and conditions — is in Roles and access. Don't over-engineer the first pass; you can refine roles later without recreating bindings.
Step 3 — Grant the team's members
Bind the role to the team's identity group, scoped to the team's project. Binding to a group (not individuals) means new joiners get access by being added to the group — no per-person platform changes.
In the portal: in Settings → Access Control, open Role Bindings and run the
wizard — choose the subject (the team's group claim), add the role-to-scope mapping (the
developer role scoped to the checkout project), attach any conditions inline, pick
allow/deny, then review. This produces the same AuthzRoleBinding as the YAML below. See
Roles and access.
Or with the occ CLI:
# checkout-developer-binding.yaml
apiVersion: openchoreo.dev/v1alpha1
kind: AuthzRoleBinding
metadata:
  name: checkout-team-developer
  namespace: fedshi
spec:
  entitlement:
    claim: groups
    value: checkout-team
  roleMappings:
    - roleRef:
        kind: AuthzRole
        name: developer
      scope:
        project: checkout
  effect: allow
occ apply -f checkout-developer-binding.yaml
occ authzrolebinding list -n fedshi
This grants everyone in the checkout-team group the developer role, but only within the
checkout project. Their access stops at the project boundary — exactly the isolation you
want.
Add a viewer binding (read-only, often namespace-wide for visibility) and an admin binding (for the team lead, who can manage the team's components and its bindings) the same way.
Step 4 — Set ownership
You already annotated the project in Step 1. That ownership cascades to every component in the project, so the team's whole project shows up under their name in the catalog and in "owned by my team" views. If a particular component belongs to a different team, override it on that component. Full rules in Ownership model.
Verify it resolved:
occ project get checkout -n fedshi -o yaml | grep backstage.io/owner
Step 5 — Apply guardrails
Confirm what the team is allowed to build with: which ComponentTypes and Traits they may use, any resource quotas on their cell, and any promotion gates on their pipeline. On most instances this is inherited from cluster-wide golden paths, so there may be nothing extra to do — but verify it matches the team's needs. See Governance and guardrails and the operator Authorization and RBAC guide.
Step 6 — Hand off to the developers
The platform is ready; now make the team productive on day one. Send them:
- Getting access — sign in to
https://console.idp.fedshi.com and set up
occ. Tell them their namespace (fedshi) and project (checkout) so they can configure a context. - Quickstart — deploy a component end to end in ten
minutes (have them use the
checkoutproject instead of creating a throwaway one). - Developer guide overview — the map of everything else.
For a fuller walkthrough of the team's first real app, see First team app.
Onboarding checklist
- Team identity group exists in the IdP
- Namespace assigned (shared or dedicated)
- Project created and bound to a deployment pipeline
-
developer,admin,viewerroles defined - Role bindings created against the team's group, scoped to the project
-
backstage.io/ownerset on the project - Allowed ComponentTypes / Traits / quotas / gates confirmed
- Developers pointed at Getting access + Quickstart
What's next
- Roles and access — design the roles you defined in Step 2 properly.
- First team app — watch the team ship.
- Governance and guardrails — keep them on golden paths.