Getting Access
There are two doors into DevsPortal: the developer console in your browser, and
the occ CLI in your terminal. This page gets you through both, grounded in the
Fedshi instance.
DevsPortal is built on the Control Plane Operator engine. The CLI is named
occ, the identity provider has the id openchoreo-auth, and you'll see
openchoreo.dev/v1alpha1 resources. These are unchanged engine internals — use them as
written.
Sign in to the developer console
The Fedshi developer console lives at https://console.idp.fedshi.com. It is a Backstage-based portal, branded as Fedshi, where you create projects, deploy components, and read logs.
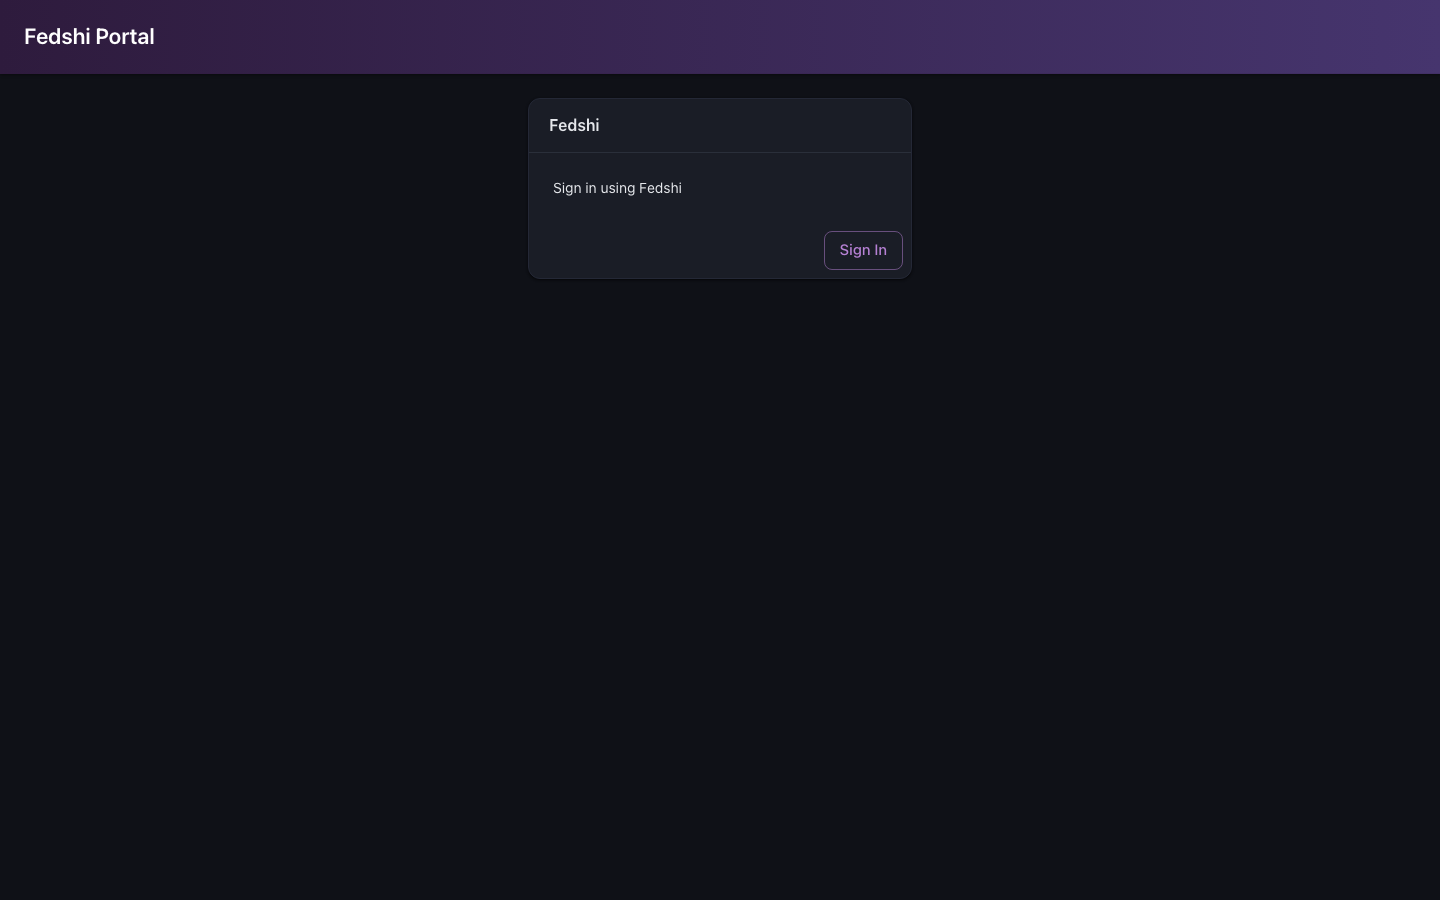
- Open https://console.idp.fedshi.com.
- Click Sign in using Fedshi. This hands you off to the Fedshi
identity provider at https://auth.idp.fedshi.com — the OAuth2/OIDC login
that backs the platform. (The provider id behind the scenes is
openchoreo-auth; the button is white-labeled to read "Fedshi.") - Enter your credentials. On a fresh instance, the bootstrap seeds a single platform
administrator: username
admin@openchoreo.devwith the default password. Your platform engineer will normally have created a personal account for you already — use that if you have one. - After authenticating you land back on the console, signed in.
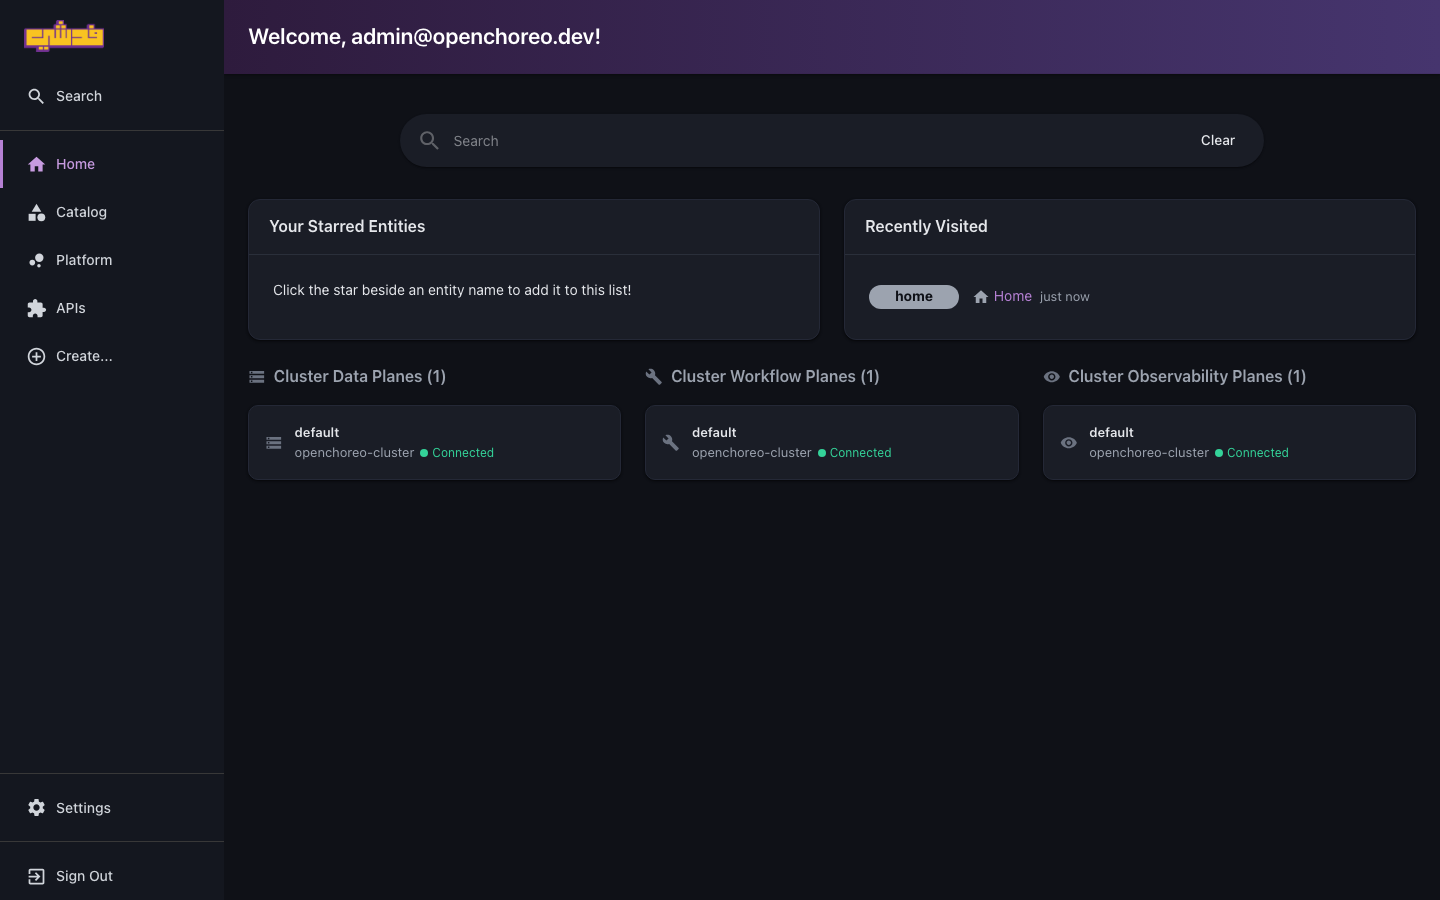
Once you're in, the console home greets you and shows the platform's health at a glance — your starred entities, recently visited pages, and the connected data, workflow, and observability planes:
The seeded administrator credentials (admin@openchoreo.dev and its
default password) are upstream demo defaults, documented only so a brand-new instance can
be reached. Change the password immediately and create real per-person accounts
before any real use. If you don't manage identity yourself, ask your platform engineer —
see Identity and SSO.
Once you're in, take a minute with the Portal guide to learn the catalog, the create wizards, and where deploy and log controls live.
Install the occ CLI
occ is the Control Plane Operator command-line interface — the same binary across every
DevsPortal instance. It drives the same API as the console, so anything you do in the
UI you can also script.
Download the binary
Pick the build for your platform:
# macOS (Apple Silicon)
curl -L https://nightly.link/openchoreo/openchoreo/workflows/build-and-test/main/occ.zip -o occ.zip && \
unzip occ.zip && sudo mv darwin/arm64/occ /usr/local/bin/ && rm -rf occ.zip darwin linux

# Linux (x64)
curl -L https://nightly.link/openchoreo/openchoreo/workflows/build-and-test/main/occ.zip -o occ.zip && \
unzip occ.zip && sudo mv linux/amd64/occ /usr/local/bin/ && rm -rf occ.zip darwin linux
Verify it's on your path:
occ version
occ version prints both the CLI client version and, once you're connected, the
DevsPortal server version — a quick way to confirm the two are compatible.
Generate completions so the CLI can autocomplete commands, flags, and resource names:
source <(occ completion zsh) # or bash, fish
Point occ at the Fedshi control plane
The CLI keeps its configuration in ~/.occ/config.yaml, built from three pieces: a
control plane (the API endpoint), credentials (your auth tokens), and a context
(named defaults that tie a control plane and credentials together with a namespace and
project). Only one context is ever active, and occ login authenticates against
whatever control plane the active context points at — so the order matters: register the
control plane, create a context for it and switch to it, then log in.
occ loginocc config controlplane add only records the endpoint; it does not make it active. If
you run occ login straight after, the CLI still uses the previously-active context (a
fresh install defaults to http://localhost:8080) and fails with
dial tcp [::1]:8080: connect: connection refused. Create a context and use it first
(steps 2–3 below).
1. Register the control plane
Point the CLI at the Fedshi API server:
occ config controlplane add fedshi --url https://api.idp.fedshi.com
2. Create a context and switch to it
A context binds that control plane to a credential — and occ config context use is what
makes it the active one. Naming the credential here creates an empty credential slot that
the login step fills in. --namespace/--project are optional defaults that save you
repeating -n/-p on every command (use your team's project; you can add or change them
later with occ config context update):
occ config context add fedshi \
--controlplane fedshi --credentials fedshi \
--namespace fedshi --project checkout

occ config context use fedshi
Confirm the switch — the * marker should sit on fedshi with CONTROLPLANE = fedshi:
occ config context list
3. Log in
occ login
occ login runs the browser-based PKCE flow against the active context's control plane: it
opens https://auth.idp.fedshi.com, you complete the same Sign in using
Fedshi flow as the console, and the CLI stores your tokens in the fedshi
credential. The default credentials above work here too on a fresh instance — but log in as
yourself once real accounts exist.
occ login where you can open a browserThe PKCE flow captures the redirect on a fixed loopback address
(http://127.0.0.1:55152/auth-callback), so run occ login on the machine where the
browser opens. On a headless box (a CI runner, a bastion), use the client-credentials flow
below instead.
For unattended automation (CI jobs, scripts), use a service-account client instead of the browser flow:
occ login --client-credentials --client-id <client-id> --client-secret <client-secret>
Your platform engineer issues the client id and secret. See Builds and CI and the operator Authorization and RBAC guide for how service accounts are granted permissions.
4. Verify
Confirm you can reach the API and see resources you're entitled to:
occ namespace list
occ project list -n fedshi
occ component list -n fedshi -p checkout
If these return data, you're connected. If you get a 403/permission error, your account
exists but hasn't been granted a role yet — ask your team admin to bind you to a role (see
Roles and access). If you get a TLS or certificate
error, your instance may use a private CA; follow the operator
DNS and TLS guide to trust it.
What's next
- Ship something now — Quickstart deploys your first component end to end in about ten minutes.
- Learn the UI — Portal guide.
- Learn the CLI — CLI reference, or the full upstream CLI reference.